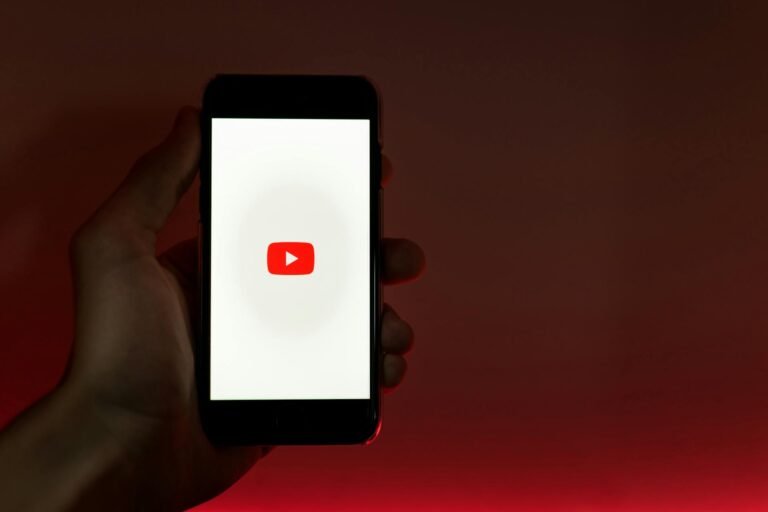
8 YouTube-Optimized Image Resizing Tricks for Thumbnails
When it comes to YouTube, thumbnails are the digital billboards of your videos. Before a single word is read or a second of your content is watched, it’s the thumbnail that decides whether a viewer clicks or scrolls past. And here’s the truth: even if your video is packed with golden content, the wrong image size or composition can bury it under the competition.
That’s where YouTube-optimized image resizing comes in. By knowing the right dimensions, aspect ratios, cropping techniques, and visual scaling tricks, you can create thumbnails that not only look professional but also demand attention in a crowded feed.
📏 Why Image Resizing Matters for YouTube Thumbnails
Before diving into the hacks, let’s address the obvious: YouTube thumbnails aren’t random pictures; they’re a carefully balanced blend of composition, clarity, and scalability.
A few reasons proper resizing is a must:
- Algorithm favors clicks: Higher CTR (click-through rate) signals YouTube to push your video.
- Small-screen friendliness: Over 70% of YouTube views are from mobile. A thumbnail that’s too busy or poorly scaled gets lost.
- Avoid blurry visuals: Resizing without the right proportions leads to pixelation.
- Brand consistency: Uniform thumbnail sizes make your channel visually appealing.
YouTube’s official thumbnail recommendation:
- Size: 1280 × 720 pixels
- Aspect ratio: 16:9
- Max file size: 2MB
- Formats: JPG, PNG, BMP, or GIF
Now let’s jump into the 8 tricks that will help you win the click game.
1️⃣ Start with the Largest Possible Image
It’s easier to resize down than up. If you design your thumbnail at exactly 1280×720, you’re following YouTube’s rule, but you’re leaving little room for creative cropping later.
Pro tip:
- Design in 2560×1440 pixels (double the required size). This ensures maximum clarity even if YouTube compresses your image.
- Keep your main subject (text or face) within the “safe zone” so nothing gets cut off during scaling.
This method works especially well if you also want to repurpose the thumbnail for community posts, Instagram reels covers, or even Pinterest pins.
2️⃣ Lock the Aspect Ratio (16:9 Is King)
If you’re using Canva, Photoshop, or even a browser tool, always lock the aspect ratio before resizing. A stretched or squished thumbnail screams “unprofessional” and hurts your CTR.
Quick method in Photoshop:
- Hit Image → Image Size
- Check Constrain Proportions
- Input 1280 width (height will auto-adjust to 720).
For Canva:
- Create a custom size template with 1280×720 px and duplicate it for every new thumbnail to keep proportions consistent.
3️⃣ Use Strategic Cropping for Emphasis
Cropping isn’t just about trimming edges — it’s about focusing attention.
When you resize, try cropping in a way that:
- Brings your subject’s eyes or main object closer to the center.
- Eliminates distractions from the edges.
- Creates a tighter, more emotionally engaging shot.
Example: If your video is about “The Best Street Food in Thailand,” zooming in on the dish’s details rather than keeping the whole street scene can increase curiosity.
4️⃣ Keep Text Large and Legible After Resizing
Many creators make the mistake of designing a thumbnail full of small text that looks fine at full size but becomes unreadable when resized for mobile.
Text resizing rules:
- Use bold fonts (Impact, Bebas Neue, Montserrat Extra Bold).
- Keep text short — 3–5 words max.
- Test readability by zooming out to 25% in your editor to mimic how it appears in YouTube search results.
Also, always keep high-contrast text colors against the background for clarity.
5️⃣ Sharpen After Resizing
YouTube compression can make resized images look a little soft. A quick sharpening pass after resizing will make details pop.
In Photoshop:
- After resizing, go to Filter → Sharpen → Unsharp Mask.
- Use a small radius (0.5–1.5 px) and adjust the amount until the image looks crisp.
Online tools like Fotor or Pixlr also have quick sharpening sliders if you don’t have Photoshop.
6️⃣ Use Safe Margins for Cross-Platform Visibility
When you resize an image for YouTube thumbnails, remember that YouTube’s interface — timestamps, play icons, and borders — can cover parts of your image.
Keep key elements (like text and faces) away from:
- The bottom right corner (timestamp area).
- The edges (can get cropped on smaller devices).
A good rule: Keep important details within the central 90% width and height of the image.
7️⃣ Batch Resize for Consistency
If you’re resizing multiple thumbnails at once, doing it individually can lead to slight inconsistencies. Instead:
- Use Photoshop’s Actions feature to apply one resizing template to all images.
- In Canva, duplicate your thumbnail template and swap out elements without touching the dimensions.
- Try bulk resizing tools like BulkResizePhotos.com for quick processing.
This ensures your channel maintains a uniform and professional look.
8️⃣ Test and Tweak Based on Analytics
YouTube Studio’s CTR metric is your best friend. If you notice some thumbnails performing better than others, analyze:
- Was the text bigger?
- Did you zoom in more on the subject?
- Was the color palette bolder?
Then apply those resizing strategies to future thumbnails. Don’t hesitate to replace old thumbnails with improved, optimized ones — it can revive older videos.
📊 Quick Reference Table — YouTube Thumbnail Essentials
| Parameter | Recommendation |
|---|---|
| Optimal Size | 1280×720 px |
| Aspect Ratio | 16:9 |
| File Size Limit | 2MB |
| File Formats | JPG, PNG, BMP, GIF |
| Design Safe Zone | Central 90% area |
| Text Visibility Check | Test at 25% zoom |
❓ FAQs About YouTube-Optimized Image Resizing
Q1: Can I use a vertical image for a YouTube thumbnail?
Yes, but you’ll need to crop it into a 16:9 aspect ratio or risk black bars appearing.
Q2: Does DPI matter for YouTube thumbnails?
Not really — DPI is for print. Focus on pixel dimensions (1280×720 px) instead.
Q3: How do I stop my thumbnail from looking blurry after upload?
Use high-resolution images, avoid heavy compression, and sharpen after resizing.
Q4: Is it okay to add borders when resizing?
Yes, but make sure they’re thin and don’t distract from the main subject.
Q5: Should I resize in a mobile app or desktop software?
Desktop software gives you more control, but mobile apps like Snapseed or Canva mobile can work for quick edits.
🎯 Conclusion
Perfecting your YouTube thumbnail size isn’t just about following the 1280×720 rule — it’s about mastering resizing techniques that make your visuals stand out, even on the smallest smartphone screens.
By starting with larger images, locking aspect ratios, using smart cropping, and keeping text readable, you’ll not only prevent blurry or awkward-looking thumbnails but also create click magnets that boost your channel’s growth.
And remember: YouTube’s algorithm rewards engagement. A sharp, clear, and well-resized thumbnail could be the difference between a video that gets buried and one that goes viral.
Try Tool: Resize for YouTube