8 Real-Pencil Sketch Effect Tricks for Authentic Hand-Drawn Looks
There’s something timeless about a pencil sketch — the raw, hand-drawn quality that digital perfection often lacks. Whether you’re an artist, content creator, or hobbyist, applying real-pencil sketch effects to your photos can instantly evoke emotion, storytelling, and artistry. But most one-click filters only scratch the surface. To achieve truly authentic results, you need techniques that mimic real pencil strokes, shading, and texture. In this article, we reveal eight detailed tricks to help your photos look like they were drawn by hand with precision and soul.
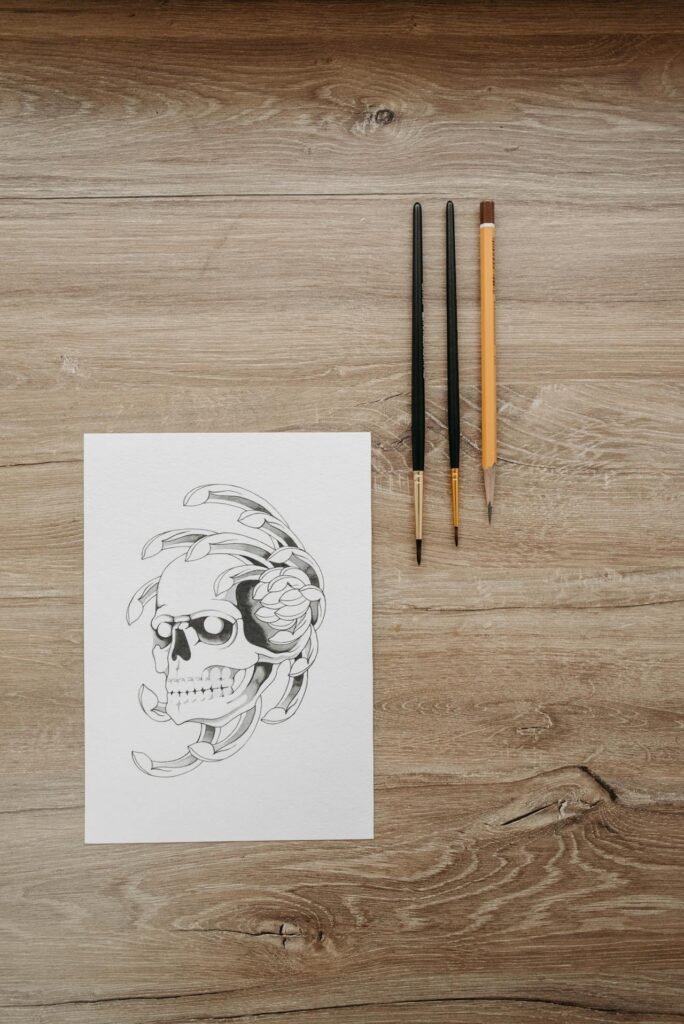
1. Start with a Grayscale Base
Before diving into effects, strip your image of color. A true pencil sketch relies on light and shadow, not hue. Convert your image to grayscale or desaturate it entirely. This creates a clean foundation and makes further pencil enhancements more convincing.
Pro Tip: Use a high-contrast grayscale conversion to emphasize edges and depth.
2. Use Edge Detection to Define Outlines
Outlines are the backbone of any sketch. Apply an edge-detection filter to bring out the contours of your subject. This mimics the artist’s initial sketching stage, where they map out the form.
Many online editors and apps offer edge-enhancement or “find edges” filters for instant results.
3. Layer in Textured Paper Backgrounds
To enhance realism, overlay your image on a textured paper background. Choose something that resembles sketchbook paper or rough parchment. It adds visual grain and mimics the resistance of real pencil on paper.
Blend your image using “Multiply” or “Overlay” mode to fuse the sketch with the texture naturally.
4. Add Crosshatching or Pencil Strokes
Digital sketches often fall flat because they lack real stroke texture. Add layers of crosshatching or pencil stroke brushes to simulate the directional lines used in traditional sketching.
Apply strokes with varying thicknesses to suggest pressure and depth.
5. Adjust Shadows and Midtones
Pencil drawings thrive on tonal range. Use curve adjustments or dodge and burn tools to fine-tune shadows and midtones. This creates that signature hand-drawn dimensionality.
Focus on areas like cheekbones, folds, and shadows around objects to increase authenticity.
6. Overlay Smudging or Blending Effects
Real pencil sketches often feature soft smudges from the artist’s hand or a blending stump. Simulate this by overlaying smudge textures or using a blur tool selectively.
Don’t overdo it—smudging should enhance, not erase your outlines.
7. Incorporate Eraser Effects
True pencil art isn’t always perfect. Artists erase lines, lighten areas, or create highlights with an eraser. You can mimic this by manually lightening sections of your sketch image to simulate erased areas.
Try selectively brightening highlights or using a soft brush on low opacity to mimic an eraser’s fade.
8. Finish with a Subtle Noise Overlay
To bring it all together, add a very light noise or grain filter. This imitates the natural graininess of pencil on paper and hides digital smoothness, making your sketch feel more organic.
Combine this with paper texture for maximum effect.
Comparison Table: Real-Pencil Sketch Tricks
| Technique | Purpose | Best Used For |
|---|---|---|
| Grayscale Base | Removes color distraction | All image types |
| Edge Detection | Creates contour outlines | Portraits, architecture |
| Textured Paper Background | Adds visual grain | Classic art aesthetics |
| Pencil Strokes/Crosshatching | Mimics hand-drawn pressure | Detailed areas |
| Shadows & Midtones Adjustment | Boosts depth and realism | Faces, folds, still life |
| Smudging Effects | Softens edges, adds sketch realism | Portraits, soft elements |
| Eraser Highlights | Simulates corrections, adds contrast | Hair, highlights, glasses |
| Noise Overlay | Adds natural sketch texture | Final polish |
FAQs About Real-Pencil Sketch Effects
1. What’s the best tool for pencil sketch effects?
Pixfav’s Pencil Sketch Effect Tool provides high-quality results with just one click, perfect for beginners and professionals.
2. Can I use color images to create sketches?
Yes, but converting them to grayscale first yields better results by focusing on shadows and light instead of color.
3. Are these sketch effects suitable for professional art?
Absolutely. Many artists use digital sketch tools for storyboarding, concept art, or stylized branding visuals.
4. Do I need drawing skills to use these effects?
No! These techniques simulate hand-drawn art without needing any traditional drawing expertise.
5. Can I print pencil sketch images?
Yes, and they look stunning on matte paper or textured cardstock. Always export in high resolution for best results.
6. Will sketch effects slow down my website?
Not if you optimize your image for the web using compressed formats like WebP or optimized JPEGs.
7. Are these effects mobile-friendly?
Yes, most modern editing tools (including Pixfav) are fully mobile-optimized.
Conclusion
Creating authentic hand-drawn looks doesn’t have to involve hours of pencil work. With the right combination of digital tricks—like grayscale conversion, texture layering, smudging, and tone control—you can produce sketches that feel organic, emotional, and artistic. These 8 real-pencil sketch effect tricks offer everything you need to elevate your photo transformations and breathe life into your visuals.
Try This Tool: Get the Pencil Sketch Look Instantly
Want to turn your photos into lifelike pencil art in seconds? Try Pixfav’s Pencil Sketch Effect Tool. It’s fast, free, and delivers stunning hand-drawn style with a single click. Whether for portraits, illustrations, or creative projects, this tool brings your ideas to life effortlessly.

