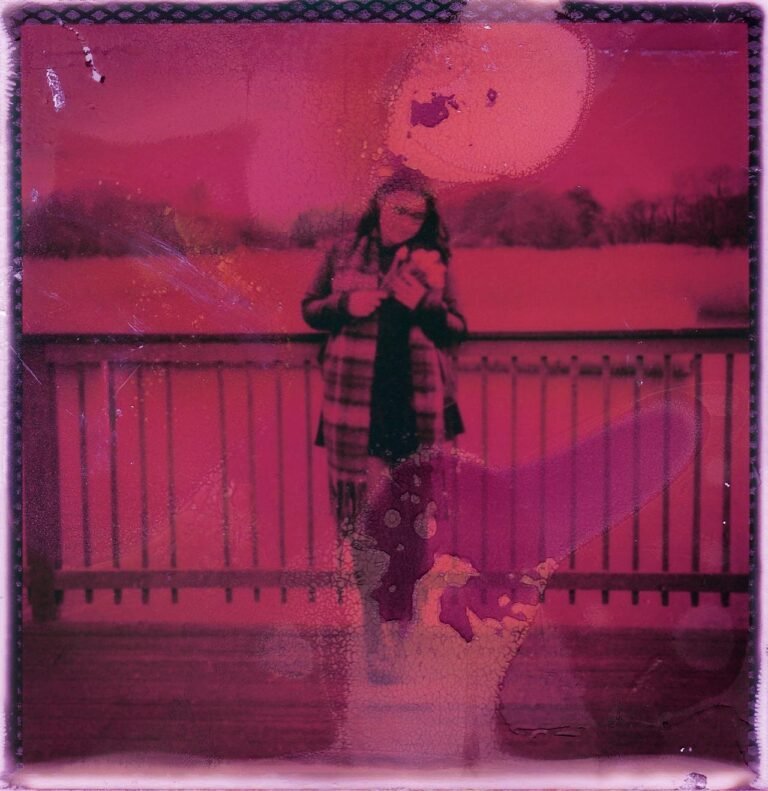
7 Brightness-Boosting Tips for Perfectly Lit Photos
In the world of digital imagery, brightness adjustment plays a crucial role in how your photos are perceived. Whether you’re aiming for warm, glowing portraits or crisp, clear landscapes, getting the lighting right can make the difference between a good photo and a great one. Perfectly lit photos not only highlight important details but also evoke stronger emotional responses. This guide unveils 7 brightness-boosting tips that help you consistently capture or edit photos with optimal light balance, regardless of the scene or subject.

1. Use Natural Light to Your Advantage
Natural light is one of the most effective and flattering ways to brighten photos. Understanding the direction, quality, and color of sunlight can instantly improve your photography. Shoot during the golden hour (just after sunrise or before sunset) for warm tones and soft shadows.
Pro Tip: Position your subject so the light falls evenly across their face or the object to minimize harsh shadows and overexposure.
2. Tweak Exposure, Not Just Brightness
When editing, many jump straight to the brightness slider—but exposure adjustments often yield more natural results. Brightness increases the intensity of all tones, while exposure tweaks how much light was captured in the original shot.
Adjusting exposure preserves highlights and prevents washed-out images, especially in photos with diverse lighting.
3. Boost Shadows Without Blowing Highlights
Sometimes a photo looks dark not because it lacks light overall, but because the shadows are too deep. Use tools that let you raise shadow brightness independently of the highlights. This reveals hidden detail without flattening the image.
Try This: In most photo editors, look for “Shadows” under lighting adjustments. Increasing this selectively enhances dark areas.
4. Use Curves for Precision Control
The Curves tool allows for advanced control over brightness levels across different tonal ranges—shadows, midtones, and highlights. It’s ideal for refining contrast and brightness at the same time.
A subtle S-curve can simultaneously brighten midtones and deepen shadows for more dynamic, vibrant images.
5. Utilize Reflectors or White Surfaces
When shooting, use reflectors—or even simple white cardboard or walls—to bounce light onto your subject. This softens shadows and brightens faces or objects naturally, especially in portraits.
Creative Tip: Silver reflectors offer a cooler tone, while gold adds a warm hue.
6. Adjust White Balance for a Lighter Feel
A photo can appear dark or dull if the white balance is too cool or off. Warmer white balance settings often give the illusion of brightness, even when exposure remains unchanged.
Use the “Auto White Balance” option as a starting point, then fine-tune to add warmth and lightness.
7. Apply Targeted Brightness with Masking
Sometimes only parts of an image need brightness enhancement. Use masks to selectively brighten faces, backgrounds, or specific elements. This draws attention to key features while maintaining overall image depth.
Tools like radial filters or brush masks in editing apps like Lightroom or Pixfav give you control over localized brightness changes.
Comparison Table: Brightness Adjustment Methods
| Method | Best For | Tools/Technique |
|---|---|---|
| Natural Light | Original photo quality | Outdoor shooting, window light |
| Exposure Tweak | Overall image balance | Photo editors, DSLR settings |
| Shadow Boosting | Revealing dark details | Lightroom, Pixfav Shadow tool |
| Curves Adjustment | Advanced tonal control | Photoshop, GIMP, Pixfav |
| Reflectors/Surfaces | Soft, natural brightness | Silver/gold reflectors, white cards |
| White Balance Adjustments | Color temperature correction | Manual or auto white balance |
| Masking for Targeted Brightening | Enhancing key areas | Brush masks, radial filters |
FAQs About Brightness Adjustment
1. What’s the difference between brightness and exposure?
Brightness adjusts the overall light level, while exposure modifies how much light the camera sensor captured during the photo. Exposure changes are often more natural and nuanced.
2. Can over-brightening damage photo quality?
Yes. Excessive brightness can wash out details, reduce contrast, and create an artificial look. Always monitor highlight clipping.
3. How can I brighten a photo without making it look edited?
Use localized adjustments (masking), natural light, and the Curves tool for subtle tweaks that preserve realism.
4. What’s the best brightness level for social media photos?
Photos that are slightly brighter than average perform better on most platforms. Aim for well-lit faces and clearly visible details.
5. Are there mobile apps for easy brightness control?
Yes! Apps like Pixfav, Snapseed, and Lightroom Mobile offer intuitive sliders for brightness, shadows, and highlights.
6. Is white balance related to brightness?
Indirectly, yes. Warm white balance settings can make a photo appear brighter and more inviting.
7. How does contrast affect brightness perception?
High contrast can make light areas look brighter and dark areas deeper, enhancing the overall dynamic of an image.
Conclusion
Mastering brightness is key to producing captivating, professional-looking photos. Whether you’re adjusting light during the shoot or in post-processing, these tips ensure your images are always perfectly lit. From subtle exposure tweaks to precision masking, the tools and techniques you use can dramatically elevate your photo quality.
Try This Tool: Brighten Photos Instantly with Pixfav
Ready to enhance your photos with perfect lighting? Try the Brightness Adjustment Tool on Pixfav. It lets you fine-tune exposure, shadows, highlights, and more—with zero design experience needed. Perfect for creators, marketers, and everyday users looking to brighten up their shots in seconds.