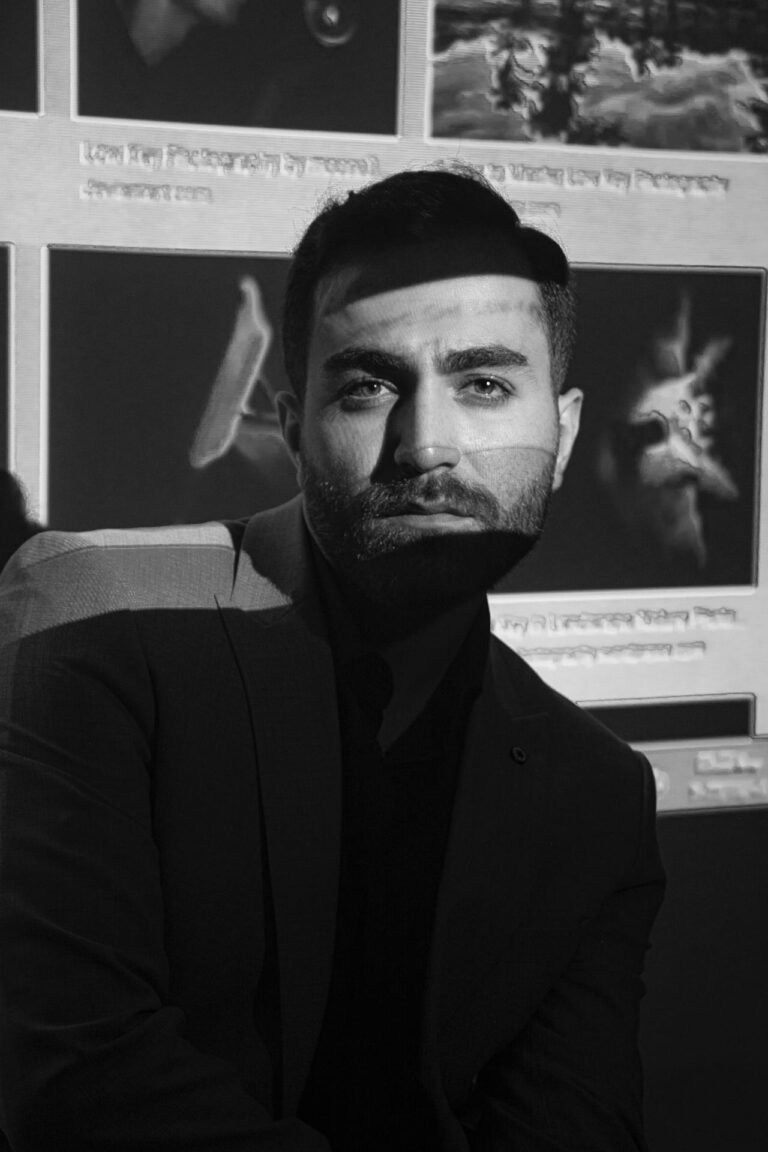
6 Grayscale Conversion Secrets for Timeless, Dramatic Photos
Grayscale conversion is more than just stripping away color from an image—it’s an art form that transforms your photos into powerful, emotional, and timeless visuals. Whether you’re aiming for vintage appeal, editorial elegance, or moody drama, knowing how to convert your images to grayscale effectively can elevate your photography or design game. This guide uncovers six essential secrets for achieving breathtaking black-and-white compositions that stand out.

1. Choose the Right Base Image
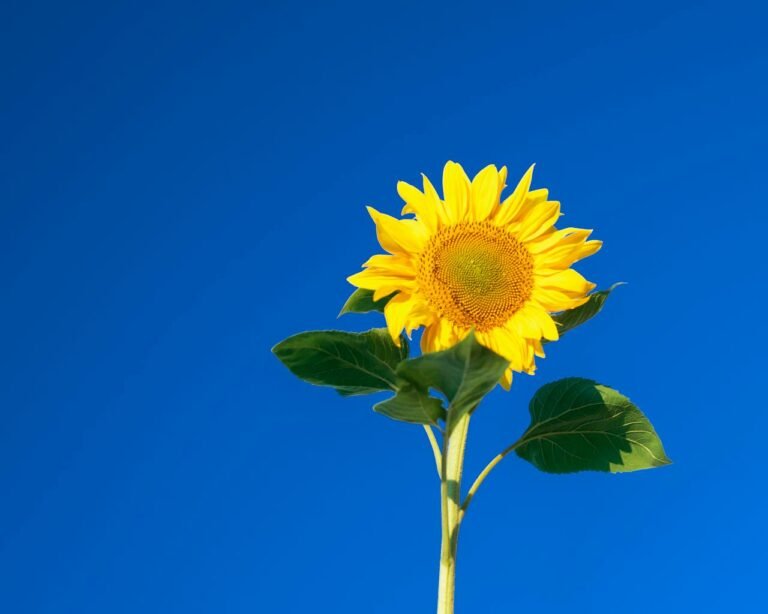
The success of a grayscale conversion begins with image selection. Not all images are suitable for grayscale; you need photos with strong contrasts, visible textures, and dynamic lighting.
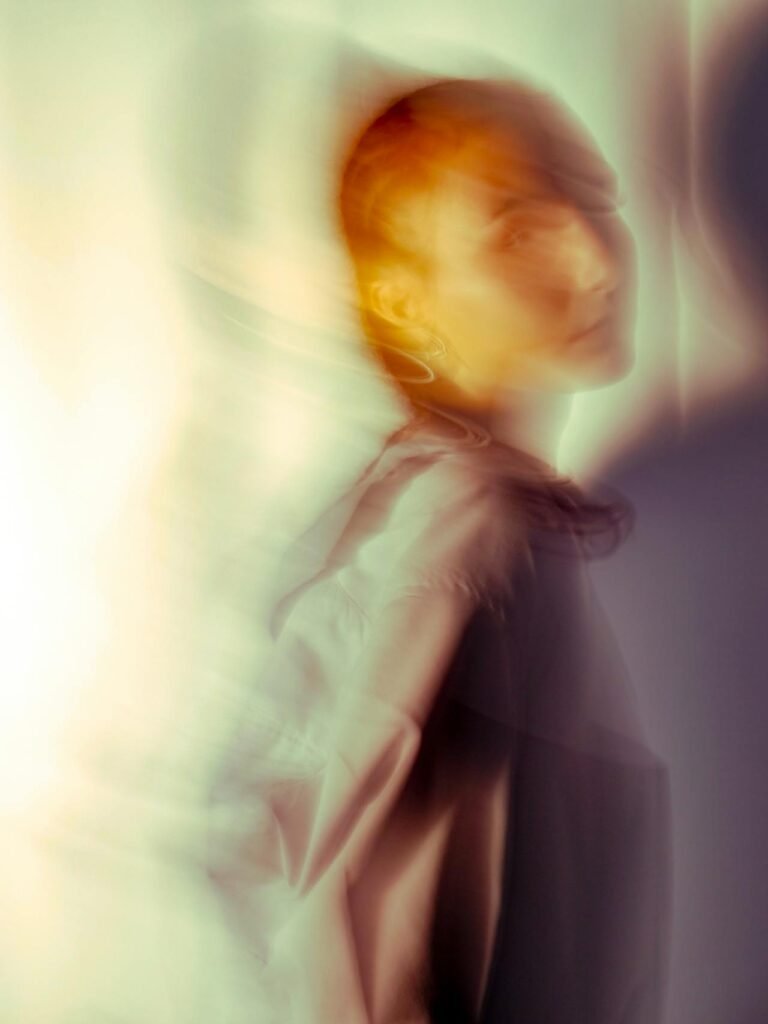
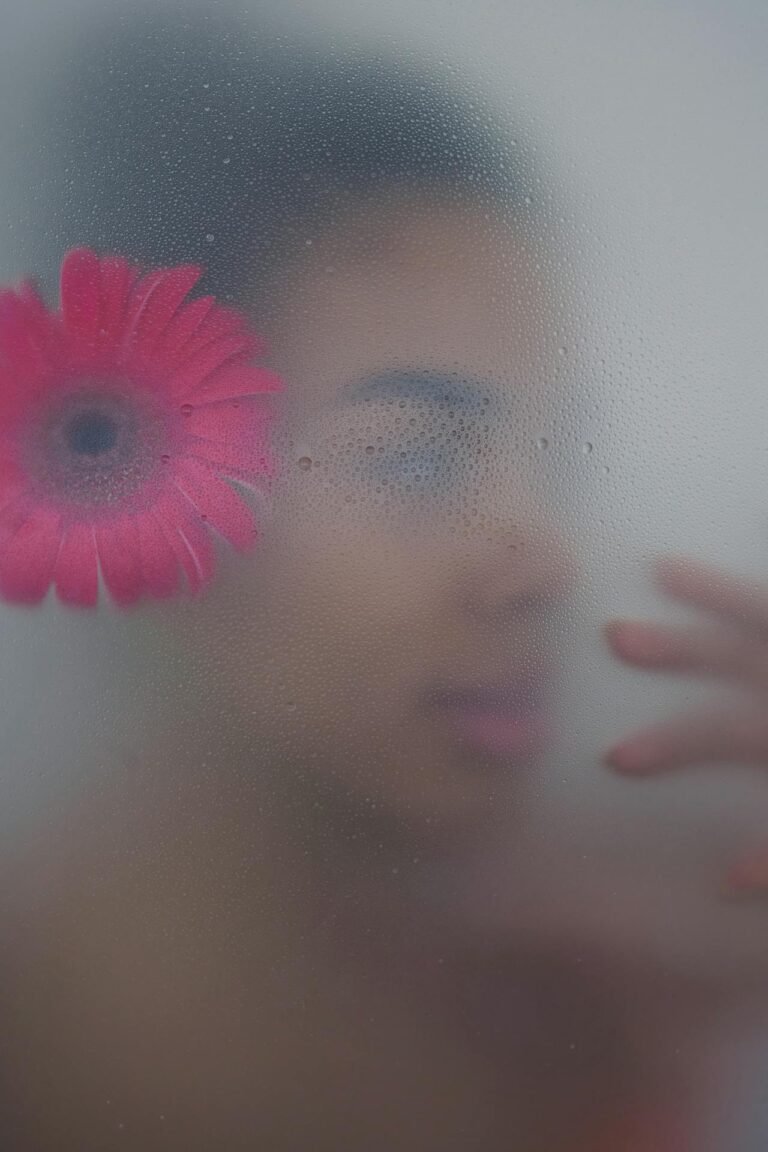
Pro Tip: Portraits, architectural shots, and street photography often perform best in black and white because of their structural detail and emotional expression.
Why it matters: Color can sometimes distract from composition. Grayscale forces the viewer to focus on shape, light, and emotion.
2. Convert with Channel Mixer for Better Control
Rather than simply desaturating the image, use tools like the Channel Mixer in Photoshop or advanced grayscale tools in Lightroom. This method lets you control the contribution of each color channel (red, green, blue) to the final monochrome image.
For example, increasing the red channel brightens skin tones, while boosting blue darkens the sky.
Why it matters: This gives you precision over how tones appear, allowing you to create drama and emphasize certain elements.
3. Play with Curves for Dramatic Tonal Range
Curves adjustments help refine highlights, midtones, and shadows, giving you ultimate control over tonal contrast.
- Use an S-curve to deepen shadows and enhance highlights.
- Flatten the curve for a more muted, vintage grayscale effect.
Why it matters: This technique helps balance your grayscale conversion so it looks intentional and artistic—not flat or dull.
4. Add Local Contrast with Clarity & Texture Sliders
Most modern editing software includes Clarity and Texture adjustments. These are especially useful in grayscale photography to bring out skin texture, fabric weave, or building details.
Clarity adds contrast in the midtones, while Texture sharpens fine details without making the image noisy.
Why it matters: These subtle enhancements ensure your image doesn’t lose its punch after color removal.
5. Use Gradient Filters for Balanced Lighting
When converting to grayscale, uneven lighting can make parts of the image feel blown out or underexposed. Gradient filters help you balance the exposure across the image.
- Apply a dark gradient at the top or bottom to draw the eye to the subject.
- Use radial filters to highlight faces or objects in the center.
Why it matters: These tools guide the viewer’s attention and enhance composition.
6. Add Grain for Vintage Texture and Depth
Nothing says timeless like a hint of film grain. Add subtle grain to mimic old-school film and create an emotional, tactile quality.
- Use noise filters or grain sliders in editing software.
- Avoid overdoing it—too much grain can reduce image clarity.
Why it matters: Grain evokes nostalgia and adds visual texture, making your grayscale image feel alive.
Related Techniques Table
| Technique | Effect | Best For |
|---|---|---|
| Channel Mixer | Precise control of tonal mapping | Artistic portraits, landscapes |
| Curves Adjustment | Adds drama and balance | Editorial, moody shots |
| Clarity & Texture Sliders | Enhances details and local contrast | Architecture, close-ups |
| Gradient Filters | Focuses lighting and composition | Portraits, storytelling images |
| Grain Overlay | Adds vintage texture and emotional depth | Retro, black-and-white projects |
| Right Image Selection | Ensures better visual composition | All grayscale styles |
FAQs About Grayscale Conversion
1. What’s the difference between grayscale and black-and-white?
Grayscale maintains tonal gradation (shades of gray), while black-and-white often has hard contrast with pure black and white only.
2. Can I turn any photo into a good grayscale image?
Not always. The best grayscale images start with good lighting, contrast, and subject matter.
3. Which software is best for grayscale editing?
Photoshop, Lightroom, and free tools like Pixfav’s Grayscale Converter offer powerful editing options.
4. Should I shoot in color or grayscale?
Always shoot in color—grayscale conversion is best done in post-processing to retain full tonal control.
5. Is grain always necessary in grayscale images?
Not necessarily, but it can add emotional and vintage flair when used appropriately.
6. Can grayscale images perform well on social media?
Yes. In fact, black-and-white visuals often stand out because they contrast against a sea of color.
7. Does converting to grayscale reduce image file size?
Slightly, but it’s not significant unless you’re removing channels during compression.
Conclusion
Grayscale conversion is a subtle craft that can transform your photos into timeless pieces of art. By choosing the right base image and mastering tools like the Channel Mixer, Curves, and Grain overlays, you can produce visually rich and emotionally impactful results. Whether you’re an aspiring photographer or a content creator aiming for style and simplicity, these grayscale secrets will elevate your creative output.
Try This Tool: Grayscale Magic with One Click
Want to skip the complex software and still get stunning black-and-white results? Try the Grayscale Converter Tool on Pixfav. Upload your image, apply grayscale conversion instantly, and download a professionally styled result. It’s perfect for social media, branding, and artistic projects.