5 Blur-Image Tricks to Create Pro Depth-of-Field in Seconds
Creating professional-looking photos doesn’t always require expensive cameras or advanced photo-editing skills. One of the simplest and most effective techniques for adding polish, focus, and artistic flair is using blur-image tricks. With just a few smart adjustments, you can mimic the shallow depth-of-field effect typically reserved for DSLR photography. Whether you’re aiming for that dreamy portrait look or want to emphasize a product by subtly blurring the background, these five techniques will help you create high-impact visuals in seconds.
This guide dives into easy yet powerful blur-image tricks you can use to elevate your designs, boost engagement, and highlight subjects with dramatic depth and style.
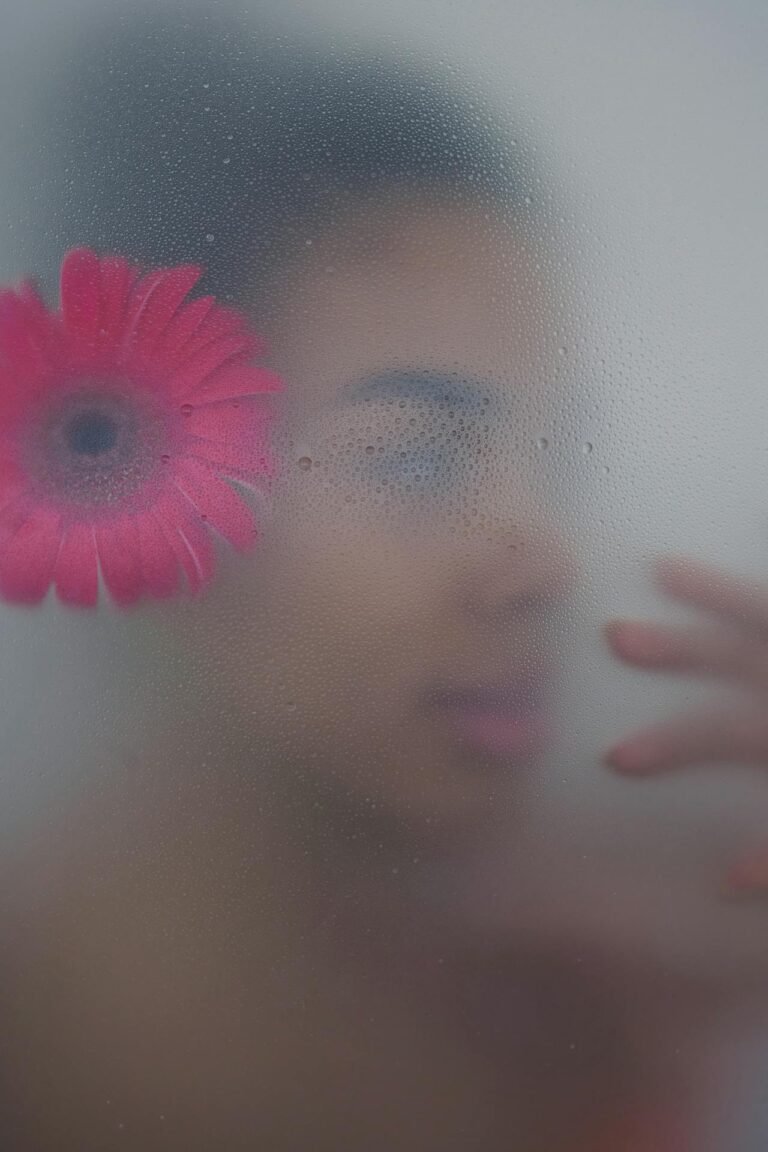
1. Gaussian Blur for Smooth Background Separation
Gaussian blur is a go-to effect for creating realistic, soft backgrounds that make your subject pop. It’s widely available in most editing software and online tools.
- How to Use: Select the background layer or mask around the subject, then apply the Gaussian blur. Adjust the intensity until you achieve a natural, smooth transition.
- Why It Works: Gaussian blur mimics the soft bokeh effect seen in professional lens photography, enhancing focus on your subject.
Pro Tip: Don’t overdo it. Aim for subtlety so the blur doesn’t look artificial.
2. Tilt-Shift Blur for Miniature or Landscape Effects
The tilt-shift blur isn’t just for fun effects—it can direct attention and simulate pro-level depth.
- How to Use: Apply the tilt-shift blur to horizontal or vertical zones of your image, leaving the center in focus.
- Where It Shines: Excellent for landscapes, cityscapes, or product images where you want to isolate specific areas.
Creative Hack: Combine tilt-shift with color enhancement for dramatic, stylized photos.
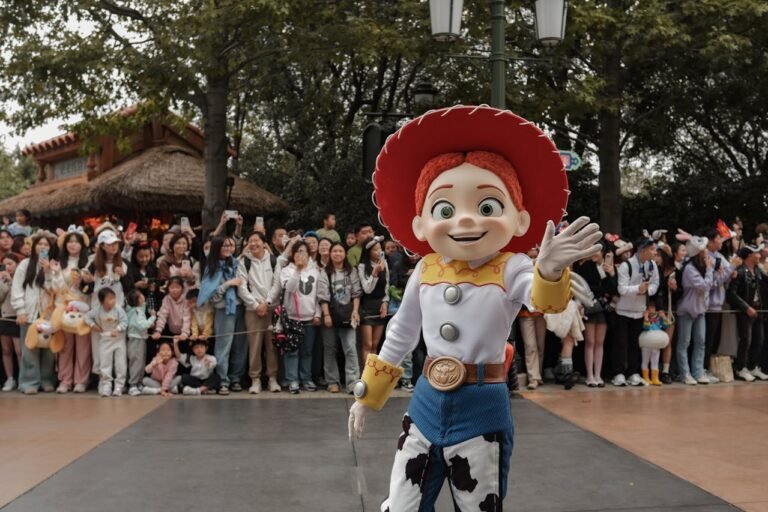
3. Radial Blur to Enhance Focus on the Subject
Radial blur creates motion or zoom-like effects that pull the viewer’s eye toward a specific point—ideal for action shots or focal-point enhancement.
- How to Use: Center the blur on your subject and adjust the strength to create a subtle focus-pull effect.
- Benefit: Adds depth and dynamic movement while keeping the subject crisp.
Use Case: Radial blur is especially effective in sports photography, dance, or any image with implied motion.
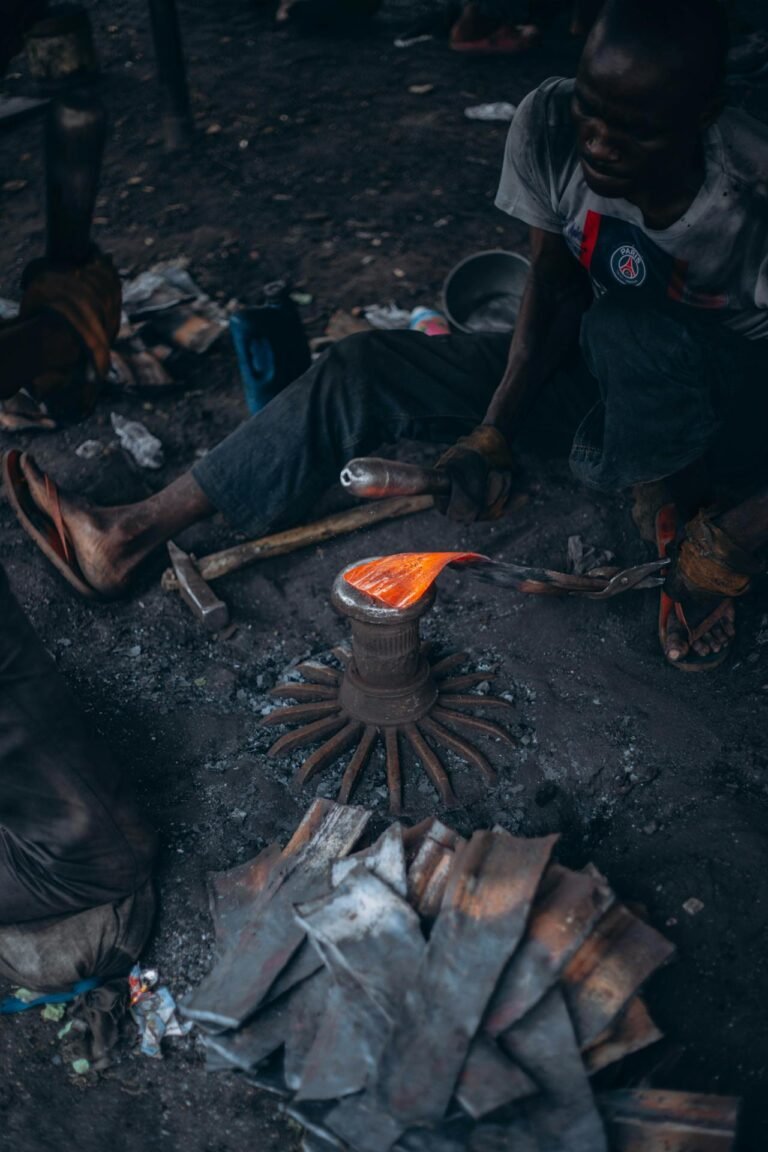
4. Lens Blur for True-to-Life Depth
Lens blur simulates how real-world lenses render depth and light, often resulting in more authentic bokeh and light scattering.
- How to Use: Many photo editors allow for lens blur with depth mapping. Identify the foreground, midground, and background to apply different blur intensities.
- Results: Realistic and cinematic photos with nuanced layers of focus.
Advanced Tip: Use depth maps if supported by your tool to get more control over the blur zones.
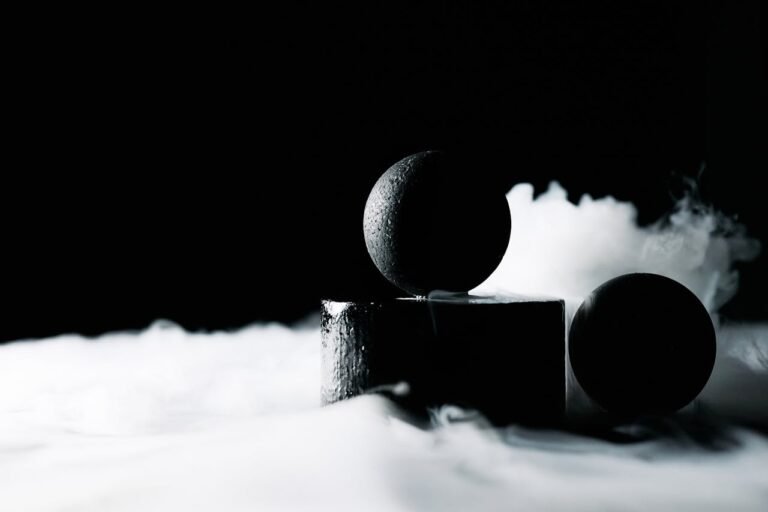
5. Motion Blur for Dynamic Imagery
Motion blur can convey movement, speed, or emotion when used creatively.
- How to Use: Apply horizontally or directionally, depending on the intended motion. Keep the main subject untouched for contrast.
- Best For: Action photos, sports events, street photography, or abstract art.
Creative Edge: Combine motion blur with desaturation or monochrome filters for artistic effects.
Table: Comparison of Blur Techniques
| Technique | Best Use Case | Effect Type | Skill Level |
|---|---|---|---|
| Gaussian Blur | Portraits, product photography | Soft background | Beginner |
| Tilt-Shift Blur | Landscapes, urban scenes | Miniature, linear focus | Intermediate |
| Radial Blur | Action shots, spotlight effect | Dynamic focal pull | Intermediate |
| Lens Blur | Cinematic portraits | True-to-life depth | Advanced |
| Motion Blur | Movement & artistic shots | Directional motion | Intermediate |
FAQs About Blur-Image Techniques
1. Can blur effects be applied without Photoshop?
Yes! Tools like Pixfav’s Blur Image Tool let you apply blur directly in your browser with easy controls.
2. Will blurring reduce image quality?
Not if done correctly. Use blur selectively and avoid over-blurring the entire image.
3. What is the difference between Gaussian and Lens Blur?
Gaussian blur softens uniformly, while lens blur mimics the real optical behavior of camera lenses.
4. Can blur be used for artistic effect?
Absolutely! Motion and radial blur, in particular, are great for creating abstract or stylized photos.
5. Is blurring useful in UI/UX or web design?
Yes. Blur can direct attention, create depth, or soften busy backgrounds to improve readability.
6. How do I blur just the background?
Use masking tools or AI-powered editors to isolate and blur the background while keeping the subject sharp.
7. Are blurred images SEO-friendly?
They can be, especially if optimized in size and paired with relevant alt text.
Conclusion
Blur-image techniques aren’t just a fix for bad photos—they’re a design tool that adds depth, mood, and intention to your visuals. Whether you’re aiming to draw attention to a subject, create cinematic flair, or convey movement, mastering these five techniques will give your images a professional edge.
When used skillfully, blur can transform an average photo into a storytelling masterpiece in just seconds.
Try This Tool: Blur Image Like a Pro
Ready to put these tricks into action? Try Pixfav’s free Blur Image Tool to apply Gaussian, motion, lens, and more blur types in seconds. No downloads, no experience needed—just upload your photo and start enhancing like a pro.