4 Rotation Hacks to Align and Stylize Your Photos in Seconds
Align and Stylize: Whether you’re a casual social media creator, a small business owner, or a seasoned photographer, mastering rotation techniques can instantly elevate your photos. A slight tilt, a perfect alignment, or a bold creative spin can turn an average image into something eye-catching and memorable. Yet, many people overlook rotation as a simple but powerful editing tool.
In this guide, we’ll explore four powerful rotation hacks that will help you both align your images for professional polish and stylize them for maximum visual impact. We’ll cover the practical “fix your horizon” tips as well as the artsy “make them stop scrolling” styles — all without making your audience feel dizzy.
Why Photo Rotation Matters More Than You Think
Photo rotation isn’t just about making sure your horizon isn’t crooked. It’s a composition tool, a storytelling trick, and a design element all rolled into one.
A properly aligned image communicates professionalism, attention to detail, and visual harmony. On the other hand, a purposeful, creative rotation can inject energy, mood, and style into your visuals. It’s like posture in photography — stand tall for confidence, or lean in for drama.
Hack #1: The Horizon Hero — Straighten for Instant Professionalism
Nothing screams “beginner shot” more than a slightly tilted horizon — especially in landscapes, architecture, or product photography. Humans are wired to notice straight lines, and when they’re off, it creates subconscious discomfort.
How to Master This Hack:
- Identify Key Reference Lines
Look for natural or man-made lines in your photo — the ocean horizon, a building’s roofline, a tabletop. These will be your guide to alignment. - Use Your Editor’s Straighten Tool
Most photo editing apps (Photoshop, Lightroom, Canva, Pixlr, etc.) have a “Straighten” or “Rotate” option with a built-in grid overlay. - Zoom In for Precision
Slight rotations — even 0.5° adjustments — can make a big difference. - Avoid Over-Cropping
After straightening, check that you haven’t cut off important elements from the frame. If necessary, adjust your composition before saving.
💡 Pro Tip: Some tools allow “content-aware fill” to recover edges after rotation so you don’t lose parts of your image.
Hack #2: The Dynamic Diagonal — Add Energy with Intentional Tilt
While straightening creates calm and stability, tilting on purpose can add movement and drama to an image. Think of action shots, fashion spreads, or concert photos — a slight diagonal can make the viewer feel like they’re part of the action.
How to Master This Hack:
- Choose the Right Subject
Movement-heavy subjects (like a dancer, skateboarder, or flowing fabric) work best. - Decide Your Tilt Angle
A small tilt (5–15°) gives subtle energy; a stronger tilt (20–45°) can feel bold and edgy. - Use It to Guide the Eye
Tilts can help lead the viewer’s gaze across the image, especially when combined with leading lines or motion blur. - Keep It Intentional
A tilt should feel like a design choice, not an accident. Too much tilt without purpose can just look like a mistake.
💡 Pro Tip: For social media, test both the straight and tilted versions of an image. Different platforms (Instagram, Pinterest, YouTube) may react differently to the same photo.
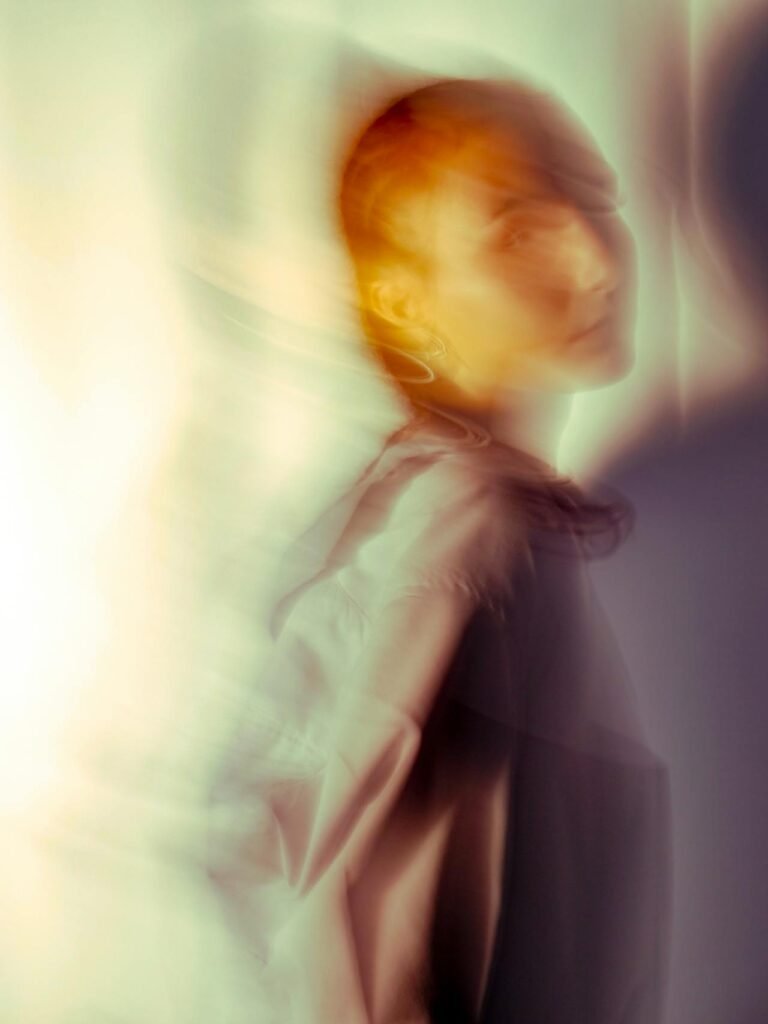
Hack #3: The Creative Spin — Full Rotations for Artistic Impact
Sometimes, breaking all the rules works best. A 180° flip or completely rotated image can be surreal and attention-grabbing. This works especially well for abstract, symmetrical, or minimalistic shots where the subject is still readable even when upside-down.
How to Master This Hack:
- Pick the Right Image Type
Symmetry, patterns, or mirrored reflections are great candidates. - Rotate in Big Steps
Experiment with 90°, 180°, and even full 270° angles. - Add Context in the Caption
If you’re posting online, a caption hinting at the twist can make the viewer linger longer, trying to “decode” the image. - Use for Mood & Surrealism
A rotated cityscape can feel like an alternate reality; an upside-down portrait can evoke introspection or confusion — in a good way.
💡 Pro Tip: Combine rotation with color shifts or filters for a stronger artistic statement.
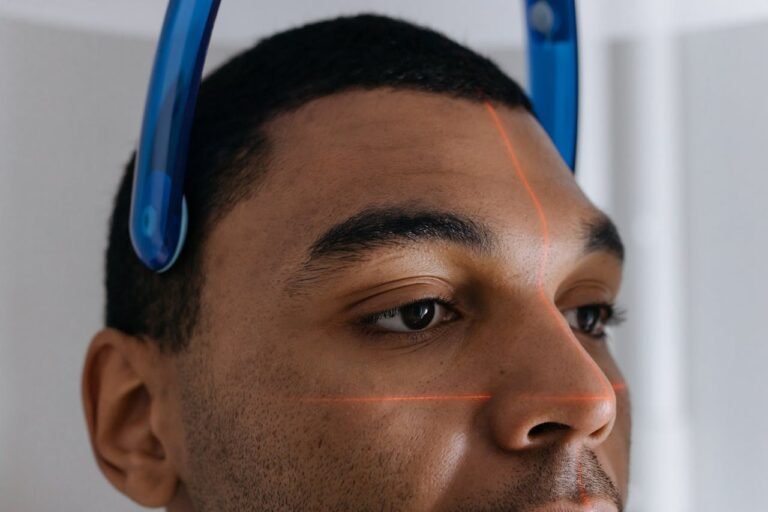
Hack #4: The Subtle Adjust — Perfecting Head Tilts & Product Angles
Sometimes the magic is in small rotations that the viewer can’t even consciously detect. For portraits, adjusting the angle of a headshot by just a few degrees can flatter the subject. For product photos, a slight rotation can better showcase texture or branding.
How to Master This Hack:
- Portrait Photography
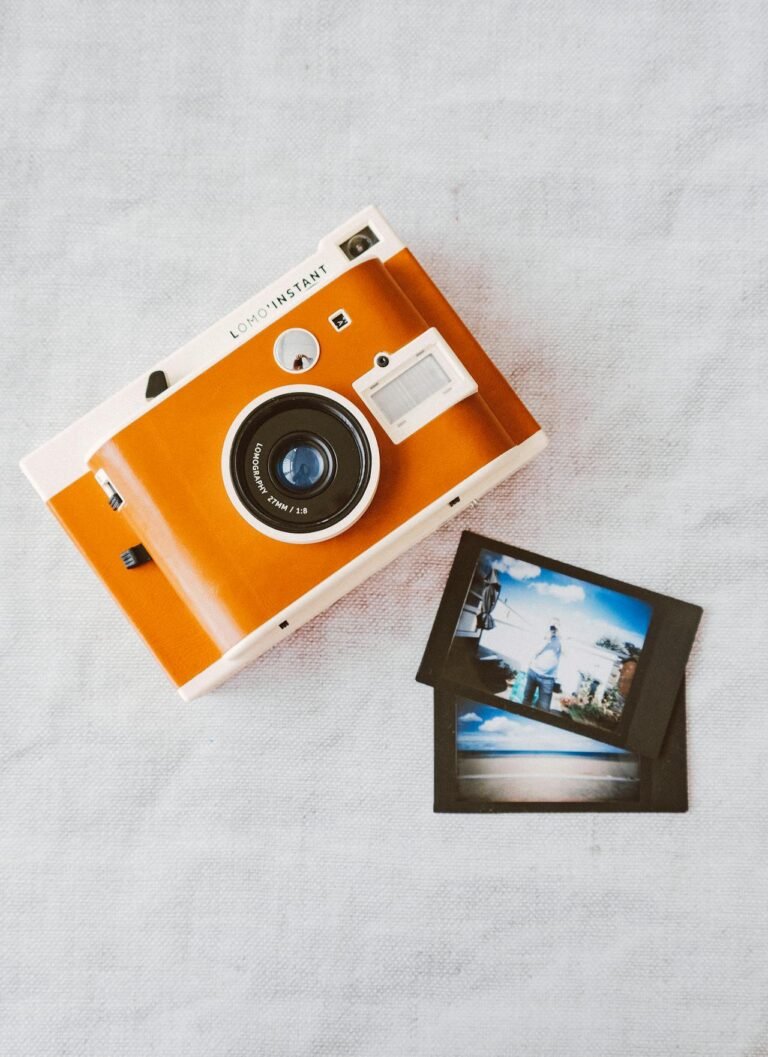
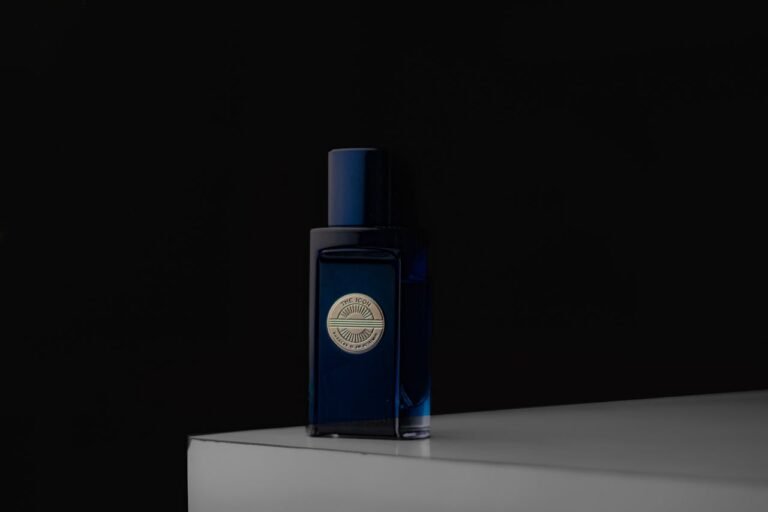
A tiny clockwise or counterclockwise adjustment can bring eyes into perfect symmetry or make the pose feel more natural. - Product Photography
Rotate so labels are fully visible and parallel to the viewer’s sightline. - Food Photography
A minor tweak can help a plate look fuller and more appetizing. - Avoid Overdoing It
The goal is to enhance without calling attention to the edit.
💡 Pro Tip: When shooting, leave space around your subject so you have room to rotate and crop later.
Related Items Table
| Rotation Style | Best For | Editing Tools | Effect on Viewer |
|---|---|---|---|
| Horizon Hero | Landscapes, Architecture | Lightroom, Pixlr, Photoshop | Calm, professional |
| Dynamic Diagonal | Sports, Fashion, Events | Canva, Snapseed, Photoshop | Energetic, engaging |
| Creative Spin | Abstract, Art Projects | Photoshop, GIMP, Pixlr | Surreal, memorable |
| Subtle Adjust | Portraits, Products | Lightroom, Fotor, Pixlr | Natural, flattering |
FAQs About Photo Rotation
Q1: Can I rotate a photo without losing quality?
Yes — as long as you’re using a non-destructive editing tool that preserves the original file, like Lightroom or Pixlr’s “Undo” option.
Q2: How do I know when my horizon is perfectly straight?
Use the grid overlay in your editor. Align the main horizontal line in your image with the grid lines.
Q3: Is it okay to mix straight and tilted shots in one gallery?
Yes — but keep them consistent within similar themes or sequences to avoid visual chaos.
Q4: Does rotating affect my photo’s resolution?
It can, because most programs crop after rotation. To prevent resolution loss, start with a high-res image.
Q5: Can I combine rotation with other effects?
Absolutely! Rotation works beautifully with cropping, filters, overlays, and perspective shifts.
Conclusion
Rotation is one of the simplest yet most versatile tools in your editing arsenal. From correcting horizons for a professional finish to adding bold tilts for artistic flair, mastering these four hacks will help you take your images from “good” to “scroll-stopping.” The beauty of rotation is that it’s fast, effective, and works across all types of photography — whether you’re shooting with a DSLR, a smartphone, or designing in a creative app.