4 Effortless Methods to Create Vignette Effects Like a Designer
If you’ve ever wondered why some photos feel cinematic, emotionally charged, or professionally edited — there’s a good chance a vignette effect played a role. Vignette, derived from the French word “little vine,” is a subtle yet powerful editing technique where the corners of an image are darkened (or sometimes brightened) to draw focus toward the center. It mimics how we see naturally — and when done right, it transforms ordinary photos into emotionally resonant artwork.
📌 Table of Vignette Techniques & Their Applications
| Method | Description | Best For | Skill Level |
|---|---|---|---|
| Radial Gradient | Circular fade from center | Portraits, product shots | Beginner |
| Edge Blur | Smooth blur around borders | Nature, weddings | Intermediate |
| Custom Shape Vignette | Masked vignette with custom frames | Posters, mood boards | Advanced |
| Color-Toned Vignette | Using color overlays instead of black/white | Artistic visuals | Creative |
🌌 Why Use Vignette Effects at All?
Before we jump into the how, let’s answer the why.
Vignettes guide attention.
The human eye is drawn toward the brighter or more focused part of an image. By subtly darkening the edges, you push your viewer’s gaze to the center — where your subject lives.
They create mood.
Dark vignettes can add mystery, drama, or intensity. Light vignettes (yes, they exist too!) can evoke openness, nostalgia, or serenity.
They mimic natural lens behavior.
Professional photographers and cinematographers often get natural vignettes due to lens design. By replicating this digitally, you can simulate the same depth and cinematic feel — even on mobile shots.
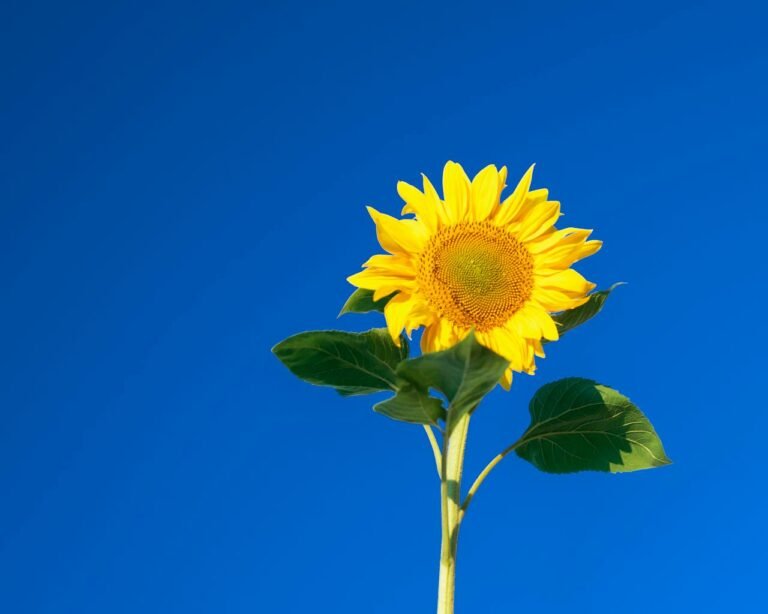
🌀 1. Radial Gradient Vignette: The Fastest Way to Add Focus
This is the most common and beginner-friendly method. You apply a radial gradient from the center outward, transitioning from transparent or light to darker tones near the edges.
✅ Best Used For:
- Portraits
- Product shots
- Profile pictures
🧠 Pro Tip:
Invert the gradient and use white or a warm tone around the edges for a dreamy, vintage look.
🛠 How to Do It:
- In software like Canva or Figma, use the gradient shape tool.
- In photo editors like Lightroom, look for the “Radial Filter”.
- Or use online tools (we’ll recommend one below) that auto-apply a radial vignette with no software required.
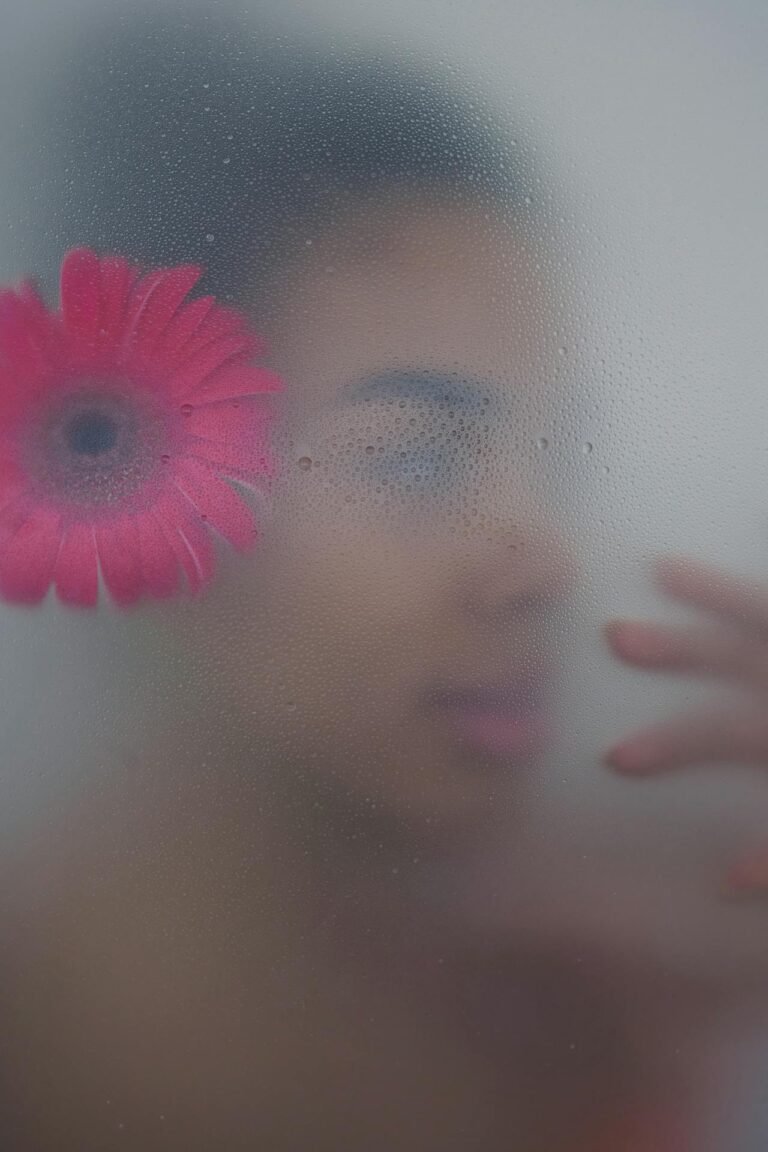
🧊 2. Edge Blur Vignette: For a Soft, Romantic Feel
Instead of darkening the edges, this method blurs them slightly — adding a romantic, soft-focus aesthetic. Think wedding photos, emotional moments, or calming nature shots.
✅ Ideal For:
- Wedding or couple photography
- Food photography
- Meditation/spiritual visuals
💡 Why It Works:
Blur removes distractions, simulating depth of field. It keeps the subject sharp while softening everything else.
🧰 Tools Needed:
- Photoshop (Gaussian blur + layer mask)
- Mobile apps like Snapseed
- AI tools or online vignette creators
🧩 3. Custom Shape Vignetting: For Bold Design Statements
Want something more eye-catching? Try masking your vignette into custom shapes — hearts, stars, frames, or even typography outlines. This is a hit in posters, event invites, album covers, or meme templates.
✅ Perfect For:
- Posters
- Greeting cards
- Themed Instagram posts
🔥 Designer Trick:
Use transparent PNGs as masks. Apply gradient overlays underneath them to create shape-based vignettes without advanced editing skills.
🧠 Best Practices:
- Don’t overdo the shape complexity — it can distract.
- Make sure the central subject still remains the focal point.
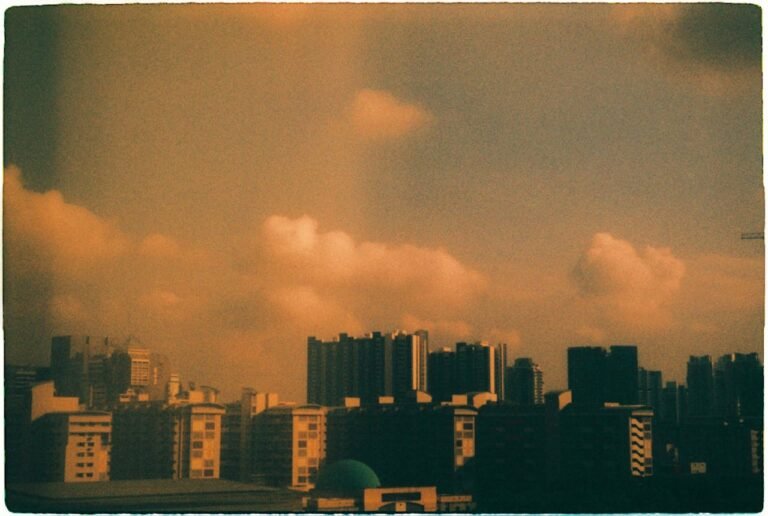
🎨 4. Color-Toned Vignette: Add Emotion Without Black or White
Who said vignettes need to be dark? Using subtle color overlays in warm or cool tones gives you an emotional boost while staying visually soft.
✅ Emotional Color Ideas:
| Color | Emotion | Use In |
|---|---|---|
| Warm Orange | Nostalgia | Autumn photos, retro edits |
| Deep Blue | Sadness or calm | Rainy visuals, moody themes |
| Golden Yellow | Happiness | Summery pictures |
| Lavender | Creativity | Art, poetry-based content |
🖼 How to Do It:
- Use gradient overlays in your image editing tool
- Apply radial or linear fades in your chosen hue
- Adjust the opacity to keep it subtle
🔍 Bonus Design Tips for Pro Vignettes
- Keep it Subtle: A harsh vignette screams amateur. Start at 20% opacity and increase only if needed.
- Use Centered Subjects: Vignettes work best when the subject is in or near the center.
- Avoid Clashing Tones: Match the vignette color with your image’s dominant palette.
🙋 Frequently Asked Questions (FAQs)
1. Are vignette effects only used in photography?
No — they’re also used in UI design, cinematic transitions, video editing, and even in illustrations to add visual focus.
2. Do vignettes reduce image quality?
Not at all. If done correctly, vignettes enhance rather than degrade quality. Just avoid over-compression during export.
3. Can I add vignette effects on mobile?
Absolutely! Apps like Snapseed, Lightroom Mobile, and Pixfav’s online vignette tool work seamlessly on phones.
4. What’s the difference between natural and artificial vignettes?
Natural vignettes come from camera lens limitations. Artificial ones are manually applied during editing to simulate or exaggerate the effect.
5. Can I use colored vignettes on black-and-white images?
Yes! It’s actually a creative way to highlight contrast. Just make sure the hue enhances the mood, not conflicts with it.
6. Is vignetting considered a design trend or a timeless effect?
It’s timeless. Trends come and go, but the need to guide visual attention will always remain relevant.
7. Are there free tools to add vignette effects easily?
Yes — and we’ve got the perfect one for you below.
🧠 Conclusion: A Simple Technique with Massive Design Payoff
The vignette effect isn’t just an aesthetic choice — it’s a powerful visual strategy. With a few gradient fades or edge adjustments, you can elevate any image from ordinary to iconic. Whether you want to evoke emotion, direct focus, or add a professional flair, mastering these vignette techniques will expand your design capabilities tenfold.
And the best part? You don’t need to be a Photoshop wizard. All of these methods can be executed online or on your phone — instantly.
🔗 Apply These Vignette Methods with One Click
If you want to try these vignette techniques effortlessly, we highly recommend using the Pixfav Vignette Tool. With just a few clicks, you can apply professional-level vignette effects — including link words like “radial fade,” “blurred edges,” “custom masks,” and “color overlays” — to your photos without downloading any software.